

Have you heard me mention how amazing my day job is? Well, sometimes I can't believe I get paid for doing what I love, and what I would be doing anyways for free, but, please don't mention that part to my boss...
Well, at my amazing job as a jewelry/metalsmithing high school teacher, we have fully equipped shops with the works, including 2 laser cutters. It has taken me over a year to begin to use the laser cutter, partially because I was having anxiety over figuring out how it works, and also because I knew that once I started I would in all likely hood not be able to stop.
I was right about one of those points...
Turns out the laser cutter is so totally easy to use. No complicated server issues, or weird formatting, no confusing computer stuff to contend with. Easy peasy.
And, yes, I am now completely hooked!
I need to come up with projects for my kids, so I have been trying to figure out the best way to curve Plexiglas for cuff bracelets. I share what I have learned with you here, and now...
*These cuffs were laser cut, but you can also make these by hand using a jewelers saw. Before the laser cutter I used Plexi all the time and I cut it by hand...
First make sure you have removed the paper coating from the back of the piece. With laser cutting, always remove the paper from the cutting side or it can catch on fire.
I made my cuff length 5 3/4. I have an average to small sized wrist. (this is actually my only small body part...sigh..)
Here's the tools and supplies you will need:
 |
| Heat gun, toaster oven, gloves, bracelet mandrel, vice, Plexi strips. |
If you are buying a heat gun, get one that has the off switch above or below low and high, not in between low and high. Gloves should be leather or some really dense but thin material. Thinner the better so you can manipulate the material with more precision.
You can use a pipe or some other tube like object as your mandrel. I like this stepped oval mandrel, but each step is only 1 3/4 in height so I am limited to how wide my bracelets can be. I use a vice clamped onto my bench to hold the mandrel.
Pre-heat oven to 325. ( I suspect the temp will vary from oven to oven, so this is kinda a rough estimate).
Place piece on tin foil and heat for 4 minutes. (again, may vary depending on size of strip and oven).
Quickly remove strip from oven (wear your gloves) and wrap it around your upright mandrel.
The plexi is very smooshie and mushie at this point but it hardens up fast, you only have seconds to work.
Ideally, you get the strip curved properly on the first try. This means getting your ends aligned and all parts hugging the mandrel.

If your cuff is mis-formed then you will need to break out the heat gun. You can heat specific spots, then quickly put down the gun and press those spots into place. (That's why you need a gun that is easy to turn off, off in the middle is too hard to do quickly)
Some designs work a lot better than others.
Designs with long skinny elements are pretty hard to form properly.
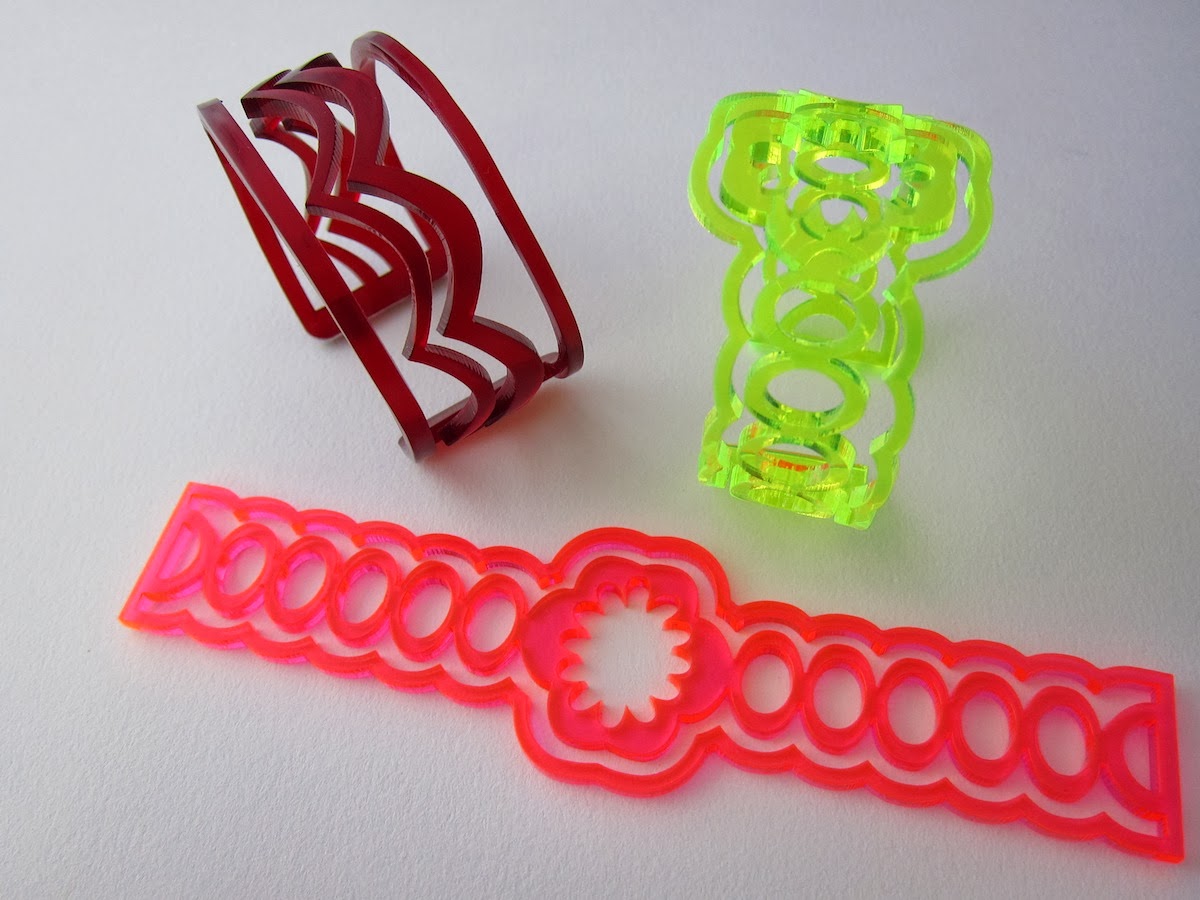 |
| Designs like this I had a hard time with. |
When you have your cuff to the shape you want, you can be done! Or, not...
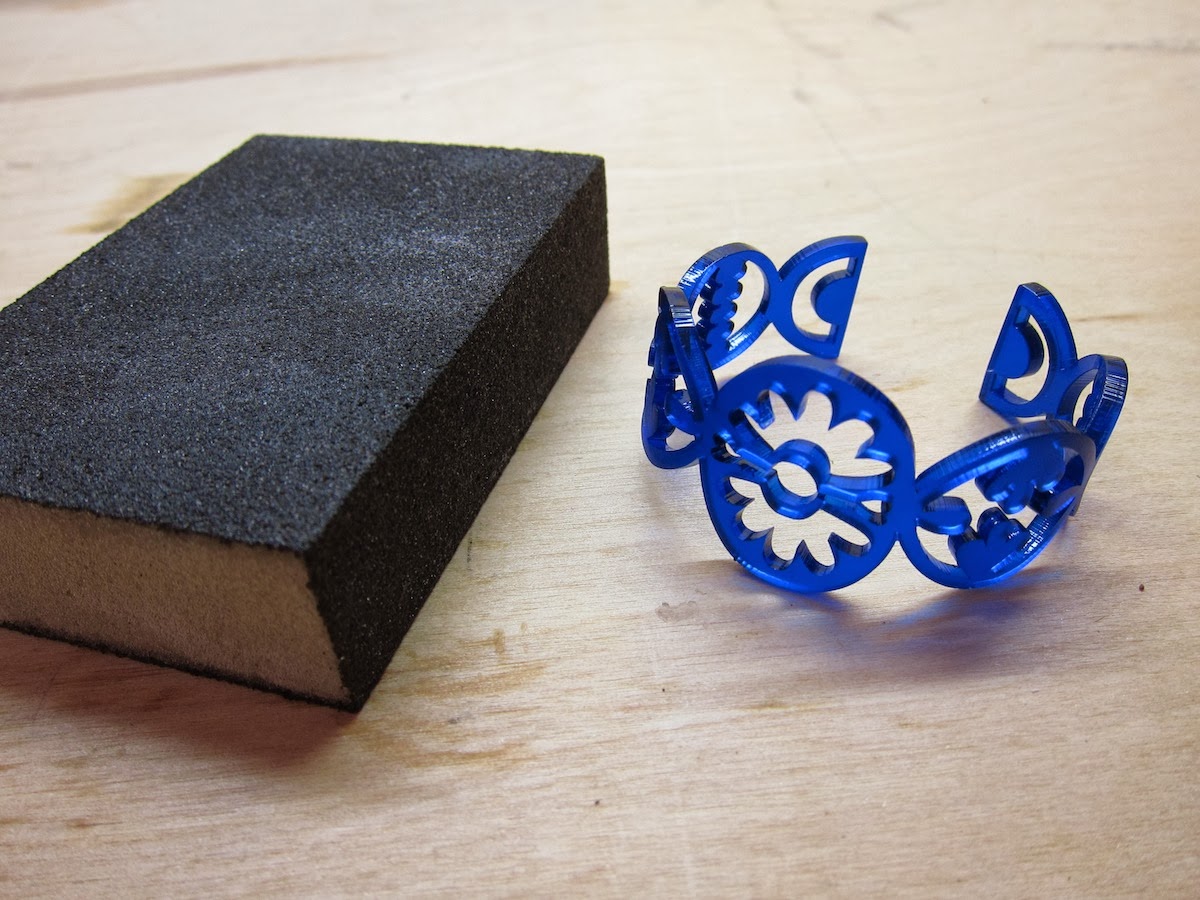
I actually prefer my Plexi slightly cloudy, especially the transparents. I use a wet/dry sanding block to give it a cloudy surface. And, viola! They are done!

In full disclosure, these bad boys will snap when putting them on if they are too small, especially the lighter more open designs. Make sure the opening for your wrist is not too close, these are not very flexible so don't bend them or mess with them too much. If they do break, no worries, you can easily make more...
If anyone has more info on the best way to curve Plexi, please share your wisdom with us.
If this was helpful, please pass it on.
Happy making!


