
I am always talking to parents and other adults who really want to go deeper with their jewelry hobby, and extend beyond bead stringing. (No disrespect to bead stringing, my collection of beads and beading supplies is obscene!) Folks really want to know what the basics are they need to set up a small jewelry "shop" at home, so here goes...
Fire is so overrated!! For now...
I am pretty torch savvy and I have been soldering for a long time. I love soldering. However, having a tank full of combustible gas in your basement or second bedroom is not an ideal situation for most people. You don't need a torch to create amazing, professional, sophisticated, skillful jewelry. With the tools and techniques I will discuss you can do incredible things at home and safely.
List of tools and supplies:
jewelers saw
saw blades (1/0)
blade lube
bench pin
steel bench block
center punch hole punching pliers or precision hole punch
design and letter stamps
files
hammers: chasing, riveting, texturing, plastic or rawhide
pliers: round nose, chain nose, flat nose and cutters
wet dry sandpaper (220, 320, 400, 600)
steel wool (extra fine)
liver of sulfur (patina)
safety glasses
sheet metal (silver, brass, copper)
wire (silver, brass, copper)
Optional:
small drill press
drill bits #55, #60
ring mandrel
wood or steel dapping block and punches
bench vice
I will go into more detail about each of these things as these posts progress, but these are the essentials that will take you very far. The first thing to do if you are interested in getting started with this process is to contact Rio Grande, the ultimate jewelry supply store, and order 2 of their catalogues: Tools and Equipment, & Gems and Findings. Everything you need will be in these 2 catalogs. They also have an online catalog, but I find having the physical catalog way more useful. They are huge fat books and you will learn so much by going through them. Here's their phone number so you can order your catalogs: 800-545-6566

 |
| Note the hugeness of these catalogs! |
 |
| Saw frames from all over the world.... |
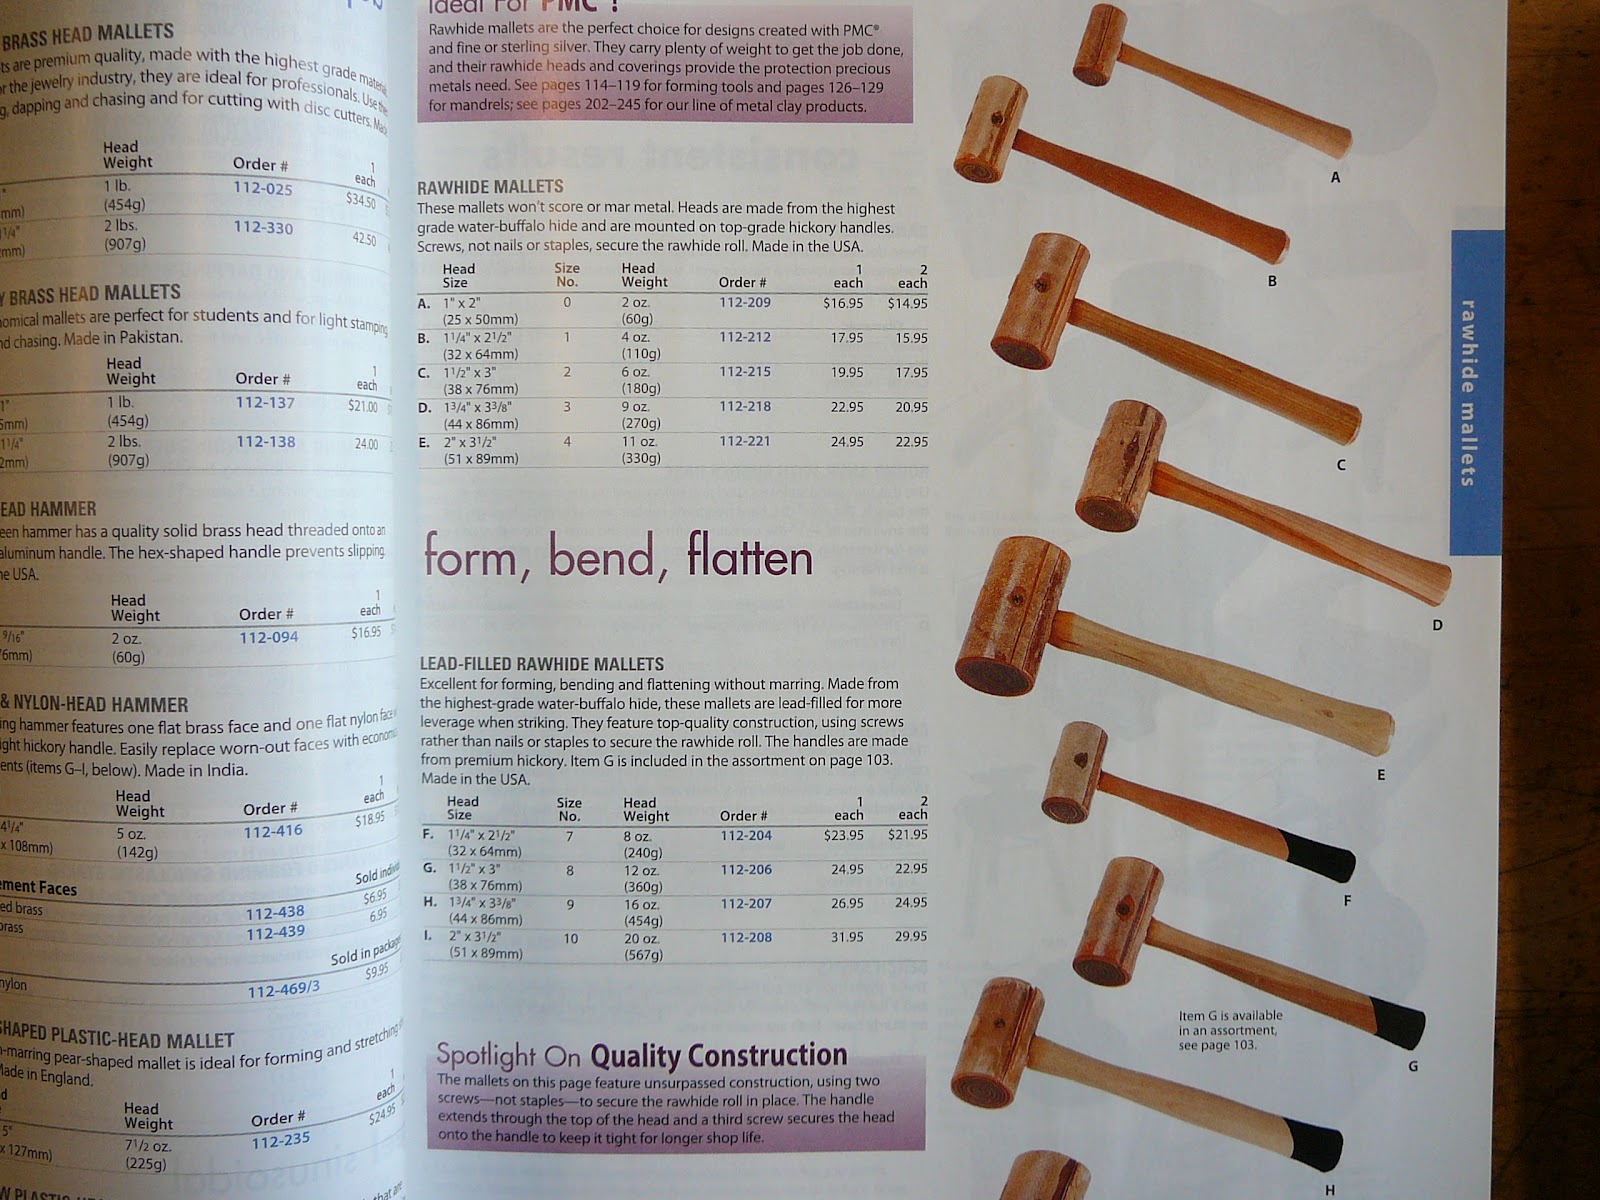 |
| A million mallets... |
 |
| Clasps for days... |
 |
| Chain in all different metals...The findings go on forever! |
Okay, here we go...
Metal comes in many workable forms: sheet, wire, casting grain, and PMC (precious metal clay). In your home studio you will be working with sheet and wire. Sheet and wire are sized by gauges, typically 2 to 26 gauge. The higher the gauge number, the thinner the metal. Most jewelry projects are done with around 14-22 gauge sheet, 18 being the most typical. Wire sizes can vary a lot, I use usually 12-22 gauge.
The kinds of metal jewelers use are fine silver (99% pure), sterling silver (93% silver) copper, brass and bronze, and gold.
The costs of all these metals have sky rocketed in the past few years, so if you want the look of silver you can use nickel silver. Nickel however is pretty toxic and lots of people are allergic to it. If you plan on using nickel a lot, then wear a dust mask when you saw, file and sand. Nickel is also difficult to form and bend if you can't heat it up, so I don't recommend nickel for wire when starting out, but it is ok in sheet form for now.
 |
| Sheet brass, nickel and copper. |
 | ||
| Wire brass, nickel and copper in many different gauges. |
Closing thoughts on fire:
It's important to note that in addition to using a torch for soldering, the other process a torch is used for is annealing metal. Annealing is a way to make your metal more malleable. Without a torch there are certain forming and bending actions that are going to be hard to perform. As these posts progress I will show you project ideas that require little or no forming of sheet metal. Wire is best annealed too, but we can get away with a lot more forming with un-annealed wire than we can with un-annealed sheet. If you have been using wire in your work, you may have noticed that it gets stiffer, or harder as you continue to bend and form it. This is called "work hardening". The more we form and bend and hammer, the harder metals become. As you become more invested and addicted to your home jewelry studio, I can go over safer torches that can be used for annealing and eventually soldering. I think soldering however needs to be learned in a class with a professonial, but annealing you can do on your own with good advice and books.
Please let me know your thoughts on part 1 of this series and if there is anything you would like me to focus on in particular in future posts. In the meantime, get your Rio catalogs and I will post part 2 next week with more details about the shopping list and to discuss the awesomeness of the jewelers saw!!!
I leave you with a piece of my metalsmithing from back in the day...Bye!
 |
| Blast Off the Friendly Tea Pot |
Great topic, Laurel, with lots of helpful information for the beginner.
ReplyDeleteIt is important to stress to readers the importance of protecting one's lungs when working with filing/drilling/sanding tools. Any work that kicks up dust from any metal (not just nickel) should be done either outdoors or using a dust collecting device like this:
http://www.esslinger.com/foredompolishingminidustcollectorairfilter.aspx
People think that using a simple face mask while sanding/grinding will protect them from dust, but it's scary to see them immediately remove the mask when they have finished sanding, etc. They forget, or don't realize, that such fine metal dust can remain airborne for hours - and presents a nasty health hazard in one's home.
Looking forward to more of your writings - particularly on inexpensive ways to organize one's growing home studio.
http://www.danpv.etsy.com
HI Dan,
ReplyDeleteyes, great idea to emphasize the dust issue. I will bring this up again in the next post.
Thanks!!!!!!!!!!!!